
Your product photos are one of THE most important parts of actually selling your product. It’s the first thing your customers see and its what they use to decide if they want to look further or not. The problem, photography equipment is P R I C E Y, or at least it can be. While that professional equipment can yield stunning results, it a) can’t do that without the corresponding professional level skill and b) is cost prohibitive for most budding businesses. However, with the right techniques and a bit of creativity you can still get stunning photos for your small business that showcase your amazing products in all of their glory. Here are some tips and tricks I have picked up over the years that have helped my not-so-professional-photography stand out.
- You need to understand your audience and how that connects to your products.
- For me that’s a pretty easy one, I sell bookish merch and sell it to my book loving people. So, in order to grab their attention without them having to look too close I put a book in the background of most of my photos. It lets them know without having to invest time or effort into investigating my products that these have to do with books. My bookish people go “oooooo books” and look closer where they can make a full decision about whether they want to purchase or not. But that book grabs their attention in the millisecond I have to do so before they keep scrolling. I also have little golden “dragon” eggs I DIYed and a golden letter opener sword in most of my photos because I primarily focus on fantasy and fantasy books for the same reason. But understanding your audience and how they relate to your products will help you decide on how to set the stage and grab attention with your photos.
- Natural Lighting is KEY
- I only take my photos by one specific window of my house at the same time of day every time because the lighting hits just right. Having the right lighting can heavily effect the quality of your photos and how much editing you have to do to get a good photo. I prefer indirect natural lighting. Indirect because direct can be too bright for the vibe I’m going for and tends to look too harsh. Find a window that gets excellent light then move slightly out of the path of the direct sun and you’ve got your sweet spot. If you can’t find indirect sunlight you can use a diffuser, they are relatively inexpensive on amazon and that can help soften the light. Softer light tends to result in more flattering images.
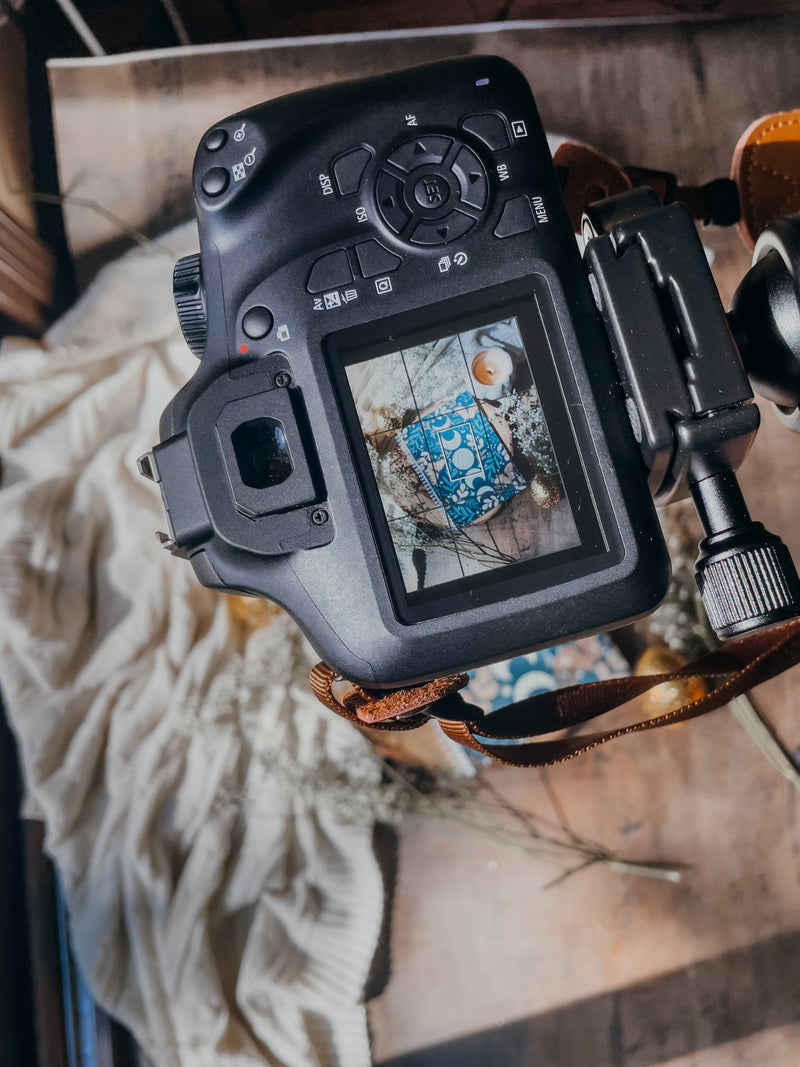
- You need a good camera.
- It doesn’t have to be a top of the line DSLR, it can be your phone camera as long as your phone has a good camera. Fortunately, most smart phones these days come with pretty great cameras so just make sure to practice using it to get comfy with how it works, how to adjust the focus, light, format, and color hues (in some cases). I have a Canon EOS 4000D / Rebel T100 DSLR camera that was on sale for prime day now but for the first several years of my business I just used my phones camera and it worked well enough for what I needed it too. I do suggest investing in a nicer camera whenever you get the chance to. Being able to shoot in “RAW” makes the editing process sooooo much easier.
- Invest in a decent backdrop.
- Having a decent photography backdrop can make your set up a thousand times easier and can help maintain consistency in your photos across your website. I got the one I use in 99% of my photos from Poppybeedesigns.com and I have been very happy with it. The large one will run you about $150, but its worth it I promise. I bought so many not-so-good ones that were less expensive because I didn’t want to spend that at first but do as I say not as I did and just put all that money towards a good one to start.
- Props
- As we touched on earlier, knowing your audience can help you choose the right props and composition to draw in your target customer. You are going to need to invest in props that fit that vibe, a lot of them you can find around your house like books, coffee cups, candles, glasses, blankets, and pens. But if the ones you have don’t fit your desired aesthetic plan on purchasing ones that do. I also usually use fresh flowers in my photos because I love the freshness and delicacy they bring as it fills out the blank space. I use baby’s breathe because it is a) small and white so it blends in to the background while highlighting the product b) its inexpensive so I don’t mind picking it up when I’m out frequently so I always have some fresh-ish ones on hand when I need them.
- Editing
- You’re going to have to learn to edit at least a little bit. Adobe lightroom has a free app for your phone and unless you have another preferred editing app I absolutely recommend that one for several reasons. A) its easy to use. B) you can purchase lightroom presets for it. Lightroom presets are like fancy filters where you can adjust the different aspects of the filter like how much exposure, shadows, color, sharpness, etc. you have in the photo. If you aren’t confident with your editing skills, I suggest going to Etsy and typing “___(mood your going for: i.e. Light and airy, moody, etc)__ lightroom preset” into the search bar and picking one you like! You can add this to your photos to get a consistent look.
- Practice
- Like any skill, photography requires practice to get good at it. So take your photos often and take a lot of them to see how different techniques turn out and which ones match what you’re going for.
Small businesses can absolutely do product photography well and on a budget without professional equipment but you will still have to work to develop that skill and I hope some of these tips can help!